
I managed to make this vintage inspired notice board (if anyone can think of a better name for it please let me know?!) for about 50p!!
What you'll need:

A strip of strong cardboard, I cut mine out of a box I got through the post and therefore FREE! It can be as big as you want your notice board to be.
3 different material patterned tape, I got these FREE with 'The Art of Papercraft' magazine last year (always look out for new crafty magazines coming out, as they often have very generous free gifts to entice you). There is also a wide range on ebay.co.uk too.
Wallpaper sample, the wallpaper I've used I got a roll for £1 in the NEXT sale last year. You could also go to a DIY shop (like Homebase) and you can rip off 'samples' of wallpapers for FREE.
Alphabet Stamps, I have used these ones in previous 'I MADE' posts and they are from ebay.co.uk but I got these for Christmas.
6 Wooden Pegs, I got a set of 40 wooden pegs for 77p from Wilkinsons, so for 6 pegs that 12p.
Rustic String or ribbon, depends on what you want the finished look to be.
Superglue, from Poundland
Strong Thick Brown Tape
Scissors
Ruler
How to Make:
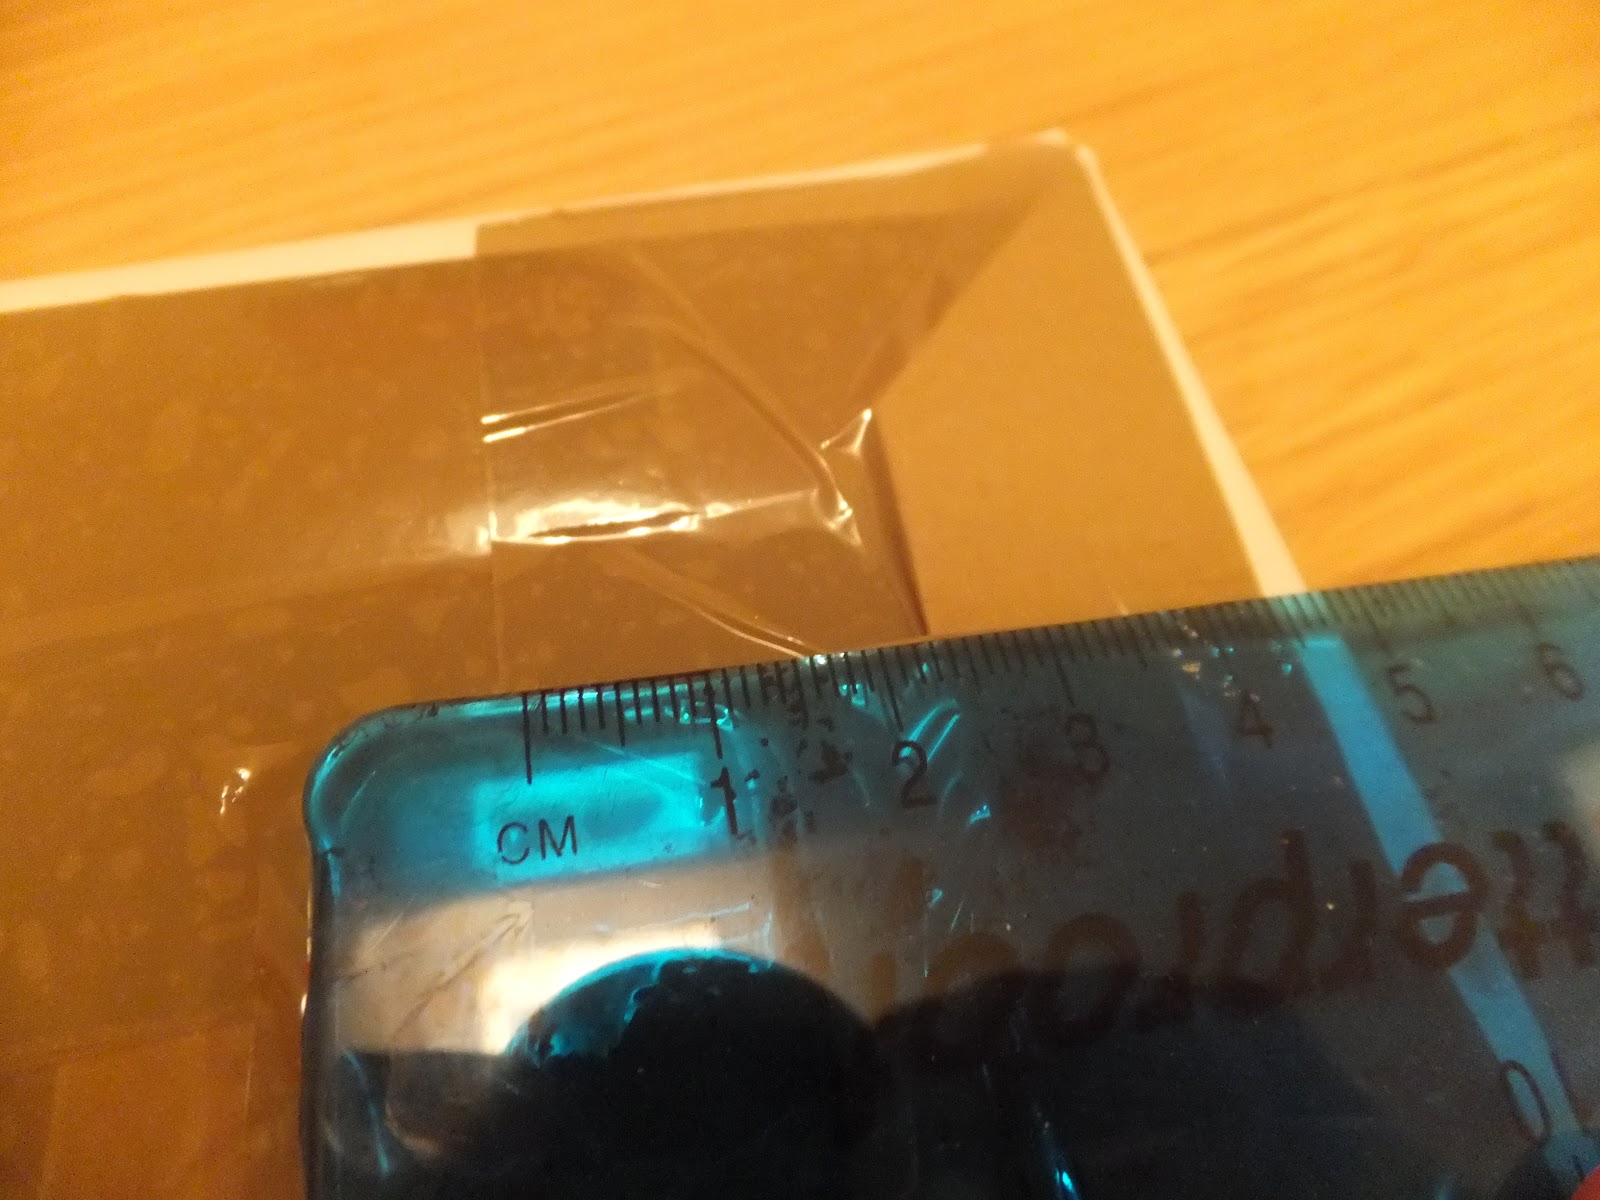
1) Cut your wallpaper so that it's about 5cm bigger than the cardboard, all the way around. Then neatly 'wrap' the piece of cardboard like a present. Fold all of the sides over and each time make sure you stick it down well with the strong thick brown tape.


2) Once the wallpaper is stuck down, measure 5cm from either end and mark with a pen. Take your piece of string (make it as long as you want it to be, the longer it is the lower it will hang) and place each end on top of the 5cm marks. Stick the string down with the brown tape, ensure it's completely stuck down as this will hold the weight of the notice board.


3) Now on to the decorated pegs that make this notice board, well a notice board! Choose one of the patterned tapes and measure it to the exact length of a wooden peg. My tape was wider than the peg, which isn't a problem, but it doesn't want to be longer. Carefully stick the tape to the wooden peg, making sure there are no bumps and lumps! Repeat with the different patterned tape with the other five pegs. I decided to do two pegs of each pattern.


4) Now on to the labels that I've stamped onto the tape, to get the best results your patterned tape will need to be material, so that the ink soaks in and doesn't smudge. Decide what you want the wooden peg labels to say, it could be the days of the week, names of children/family members, could be used to display table plans for a wedding/event, let your imagination run wild! I chose: To Do, Lists, Bills, Receipts, Vouchers and IMPORTANT. Using the alphabet stamps and black ink (again, you can use whatever colour ink you have) I stamped on the words to each peg. This is very quick and easy to do, just make sure you stamp on the words in the same direction on each peg.


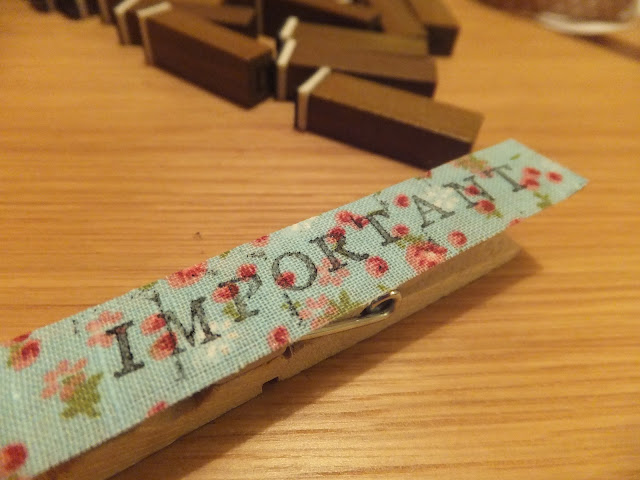


4) Now on to the labels that I've stamped onto the tape, to get the best results your patterned tape will need to be material, so that the ink soaks in and doesn't smudge. Decide what you want the wooden peg labels to say, it could be the days of the week, names of children/family members, could be used to display table plans for a wedding/event, let your imagination run wild! I chose: To Do, Lists, Bills, Receipts, Vouchers and IMPORTANT. Using the alphabet stamps and black ink (again, you can use whatever colour ink you have) I stamped on the words to each peg. This is very quick and easy to do, just make sure you stamp on the words in the same direction on each peg.


5) Your nearly finished, position the pegs on the hanging notice board how you would like them to look. Get the superglue and very carefully put three dots on the back of a peg (top, middle and bottom). Place the peg back in its position and hold down for 30 seconds or until it's stuck down. Repeat with the other five pegs.


6) There you have it, a beautiful vintage inspired notice board that you can personalise! If you want to make it bigger just use a longer strip of cardboard. Ideas for other designs:
Families - using pegs with each person's name on would work really well. Then you can attach anything you need to remember for each person, for example swimming lesson times, after school clubs, school letters, dentist/doctor appointment times etc.
Wedding - if you made a bigger version then it could be used to display your table plan. On each peg, stamp on 'Table 1, Table 2 etc' or your tables names and then attach a list of the guests names to their tables peg. You could also display one of these notice boards at the wedding venue with piece of paper and pens next to it and ask your guests to write messages to the Bride and Groom and attach them to the pegs. A lovely memory for the married couple!
Couples - stamp the days of the week on to the pegs, so that you can attach your plans for the week on the relevant days. A clear way to display what's happening during the week and there's no 'You didn't tell me!' excuse! Or the same as I stamped on, another way to keep organised.
Businesses - you could stamp on new orders, pending orders and old orders on to the pegs and attach the relevant documents. A pretty way to display paperwork!


This design can really be used for any purpose and it's so cheap to make!
What do you think?
Will you have a go at this craft project?

What a wonderful idea , so cute x
ReplyDeleteThis is so cool, I will have to try this out. Thanks for sharing :)
ReplyDeleteThis is so cool, I will have to try this out. Thanks for sharing :)
ReplyDelete