Friday, 14 December 2018

CRAFTS: 4 DIY Gifts for Children to Make for Loved Ones

CHRISTMAS: 4 DIY Gifts for Children to Make for Loved Ones
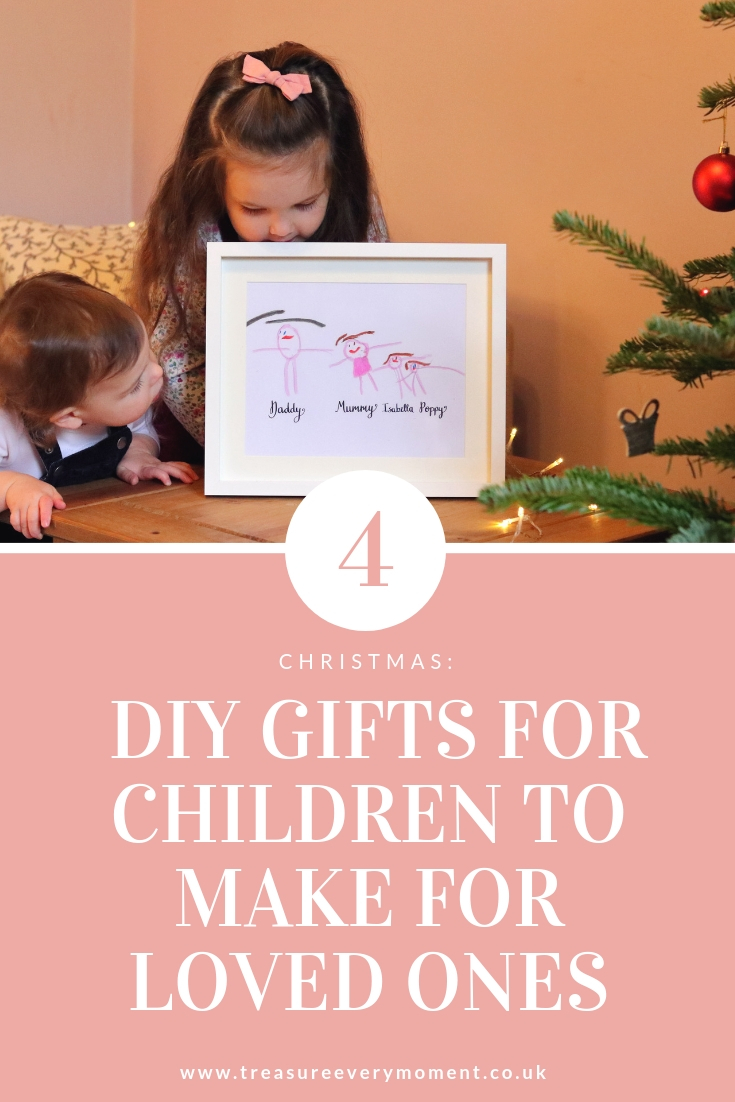
DIY gifts are an easy, affordable and thoughtful gift to give on any occasion and as there are so many people to buy for at Christmas what better time to get creative? Now that Isabella is older it is even easier to turn a crafty afternoon into a special gift for a loved one. Isabella and Poppy both get to have fun with paint, stickers, glitter etc., as well as producing a beautiful present. I think it is really important to teach Isabella (and Poppy when she's older) all about the gift of giving and her not be a bit oblivious to it all as we buy all of the presents for everyone. When I was a child I loved nothing more than spending my pocked money on presents for others and that love for buying, making and creating gifts for others hasn't been lost into adulthood. I would like Isabella to grow up appreciating the gifts she receives and understanding what makes a thoughtful present for someone else.
SHARE:

Friday, 9 February 2018

CRAFT: Felt Vegetable Garden

Creating a felt vegetable garden is something I had wanted to do for Isabella for such a long time, after spending hours pinning ideas and inspiration on Pinterest. I thought my very basic sewing skills would make it difficult to make, but as you can see I somehow managed to make Isabella a little felt vegetable garden. If you're looking for a detailed tutorial on how to make one then there are probably more informative posts out there, but if you're after basic instructions (ideal for a complete sewing novice) then this is the post for you. I picked up almost all of the things you'll need from Hobbycraft and everything else was recycled from around our house. 
SHARE:

Monday, 15 January 2018

MEAL PLANNING: A week on a toddlers plate #2

A while ago now I put together a meal planning post featuring lots of Isabella's meals, which you can see here. It went down really well, so I thought I'd put together another one to help meal planning and ideas. It can be tricky thinking of new, interesting meals, so I hope this inspires you to try something new with your little one. All of these recipes are easy to put together and I will often make a batch of something and then give it to Isabella in different forms throughout the week, in an attempt to keep her discovering new foods, flavours and tastes. 
SHARE:

Tuesday, 22 December 2015

CHRISTMAS: 20 Last Minute Homemade Gift Ideas

Only a couple of days to go until Christmas Day and inevitably there will be a neighbour/friend/relative that was somehow lost in the gift buying process. It's a nightmare! Last minute homemade gifts are perfect for entertaining children, adding that personal touch and many can be whipped up in less than an hour. Here are 20 ideas for last minute presents that can be made in the comfort of your home, therefore no battling the shops on Christmas Eve...thank goodness!

30 Last-Minute Gifts Everyone will Love | Christmas DIY Ideas - YeahMag:
SHARE:

Tuesday, 10 September 2013

I MADE: No-Sew Bunting ♥

Anyone else love bunting? I love it...any pattern, any style, anywhere...it just feels so summery and celebratory! As we're getting married in a Tipi next year we really want LOT's of bunting all over the two Tipi's. Ages ago I had bought the cheapest single duvet cover from IKEA (I think it was £3) for craft projects but hadn't done anything with it. I decided it would be perfect for making bunting with but there was one problem...my sewing skills are quite limited! During a trip to Home Bargains I saw some Hemming Web for 65p, perfect for No-Sew Bunting :)
 
 
I felt like such a 'rebel' cutting up a duvet cover (haha!)
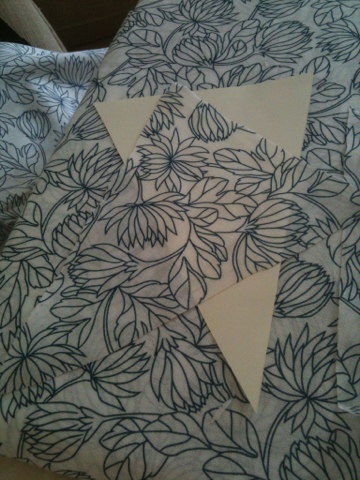
Firstly I cut along the joins of the pillowcase to open it up. You will need two triangles cut out of the material, so that the pattern is on both sides. 
 
I then used a cardboard triangle I had cut out as a template. Make sure you have the inside of the pillowcase (so that the pattern isn't facing you) and fold the material over. This should result in you having two layers of material. You don't have to do this but it helped me to try and make both the triangles the same size.  


I cut 3 lengths of the Hemming Web to go around each edge of one of the triangles (make sure you put the Hemming Web on the inside of the material, so that once again the pattern is facing away from you). Carefully place the other triangle (pattern facing upwards) on top.


Next you need to carefully iron the triangle, make sure there isn't any of the Hemming Web hanging out! The heat of the iron melts the Hemming Web, which keeps the two triangles together.  


Ta-Dah! One triangle done! From just one pillowcase I made about 14 of these triangles, so you don't need much material to create a lot of bunting.
 
 
(As you can see I don't have the steadiest hand when cutting a 'straight' line - but it doesn't matter once the bunting is hung up).

To finish the bunting off I used some blue spotty ribbon from the NEXT sale (£1.50 for 3 m). Carefully put a strip of the Hemming Web along the top of each triangle, placed the ribbon on top and ironed it (for as little time as possible).


Have you tried to make bunting before?
 
What do you think?
 
SHARE:

Tuesday, 6 August 2013

I MADE: Homemade Baby Gifts are Perfect ♥

You might remember that a while ago I was very excited to become an Auntie for the first time! Well after a lot of waiting she was finally born on the 30th May 2013! It was such an amazing time to be part of, watching them as a little family and of course having lots of cuddles with Daisy! I made a photo frame similar to this one for one of Daisy's scans (you can see the post here) and it went down so well I was looking forward to making one for when Daisy final arrived!

I once again painted a plain wooden frame, this time I opted for a very light pink, as they didn't want everything to be very pink. I then used the same letter stamp kit I used on the last photo frame (which I was given as a present but you can get similar sets from ebay.co.uk or places like amazon.co.uk).
 
 
I decided to stamp on all of the key information about Daisy - between stamping each letter in black ink and stamping the photo frame I wiped around the edge of the letter, so it wouldn't look too messy. But it was very time consuming.  


What do you think?
 
 
SHARE:

Sunday, 7 July 2013

Salt Dough - something just for children?!

I don't know about you but my childhood memories include Rainbows, Brownies and A LOT of salt dough 'creations'. In fact there are still some very sorry looking salt dough baubles that we hang on the family Christmas tree every year! But after reading a couple of wedding magazines and browsing for DIY wedding ideas guess what kept coming up?! SALT DOUGH! They suggested it for favours, wedding gifts, decorations, place names - anything really! I'd thought I'd give them a whirl - what did I have to lose? Well it seems actually you lose a lot of time, they took 11 hours to 'cook' or dry out on a very low heat in the oven! That was the only down fall, you have to have a whole day when you're not leaving the house.

How I made them:

2 cups of Plain Flour
1 cup of Salt (you can get it really cheap at places like B&M Bargains)
1 cup of water, or however much is needed to make a dough consistency

1) Combine the ingredients until they form a dough which you can knead.
2) Flour a clean, smooth surface and troll out the dough until its as thick as you want it to be for what you're making. I rolled mine out until it was about as thick as a £1 coin.
3) Using biscuit cutters, you can make as many shapes you like or need. I d's lots of circles, little stars to use as gift tags at Christmas etc.
4) I have an alphabet stamp set that my partner got me for Christmas but if you don't have a set then they are about £10 from eBay. I pressed each letter stamp well into normal black ink and then carefully into the salt dough shapes.
5) Repeat until you have the word you'd like to write.
6) Carefully place them on a floured baking tray and let them dry out in an ovens that's about 60'C for around 9-12 hours. They shouldn't really change in colour but they will get very hard.
7) Alternatively you could let them dry out over night (not in the oven) but I was too impatient!


What do you think?

Feel free to leave a comment :)
 
 
SHARE:

Thursday, 21 February 2013

I MADE: Vintage Inspired Notice Board

As you probably know by now I LOVE anything crafty, especially on a Saturday night (shows how wild my life is!). I have really wanted a shabby chic notice board (not a very glamorous name but I'm unsure of their 'offical' name) for a while now but kept finding ones that were either too big or too expensive. So me being me decided to try and make my own for the cheapest way possible, without looking cheap and tacky!


I managed to make this vintage inspired notice board (if anyone can think of a better name for it please let me know?!) for about 50p!!

What you'll need:


A strip of strong cardboard, I cut mine out of a box I got through the post and therefore FREE! It can be as big as you want your notice board to be.

3 different material patterned tape, I got these FREE with 'The Art of Papercraft' magazine last year (always look out for new crafty magazines coming out, as they often have very generous free gifts to entice you). There is also a wide range on ebay.co.uk too.

Wallpaper sample, the wallpaper I've used I got a roll for £1 in the NEXT sale last year. You could also go to a DIY shop (like Homebase) and you can rip off 'samples' of wallpapers for FREE.

Alphabet Stamps, I have used these ones in previous 'I MADE' posts and they are from ebay.co.uk but I got these for Christmas.

6 Wooden Pegs, I got a set of 40 wooden pegs for 77p from Wilkinsons, so for 6 pegs that 12p.

Rustic String or ribbon, depends on what you want the finished look to be.

Superglue, from Poundland

Strong Thick Brown Tape

Scissors

Ruler


How to Make:

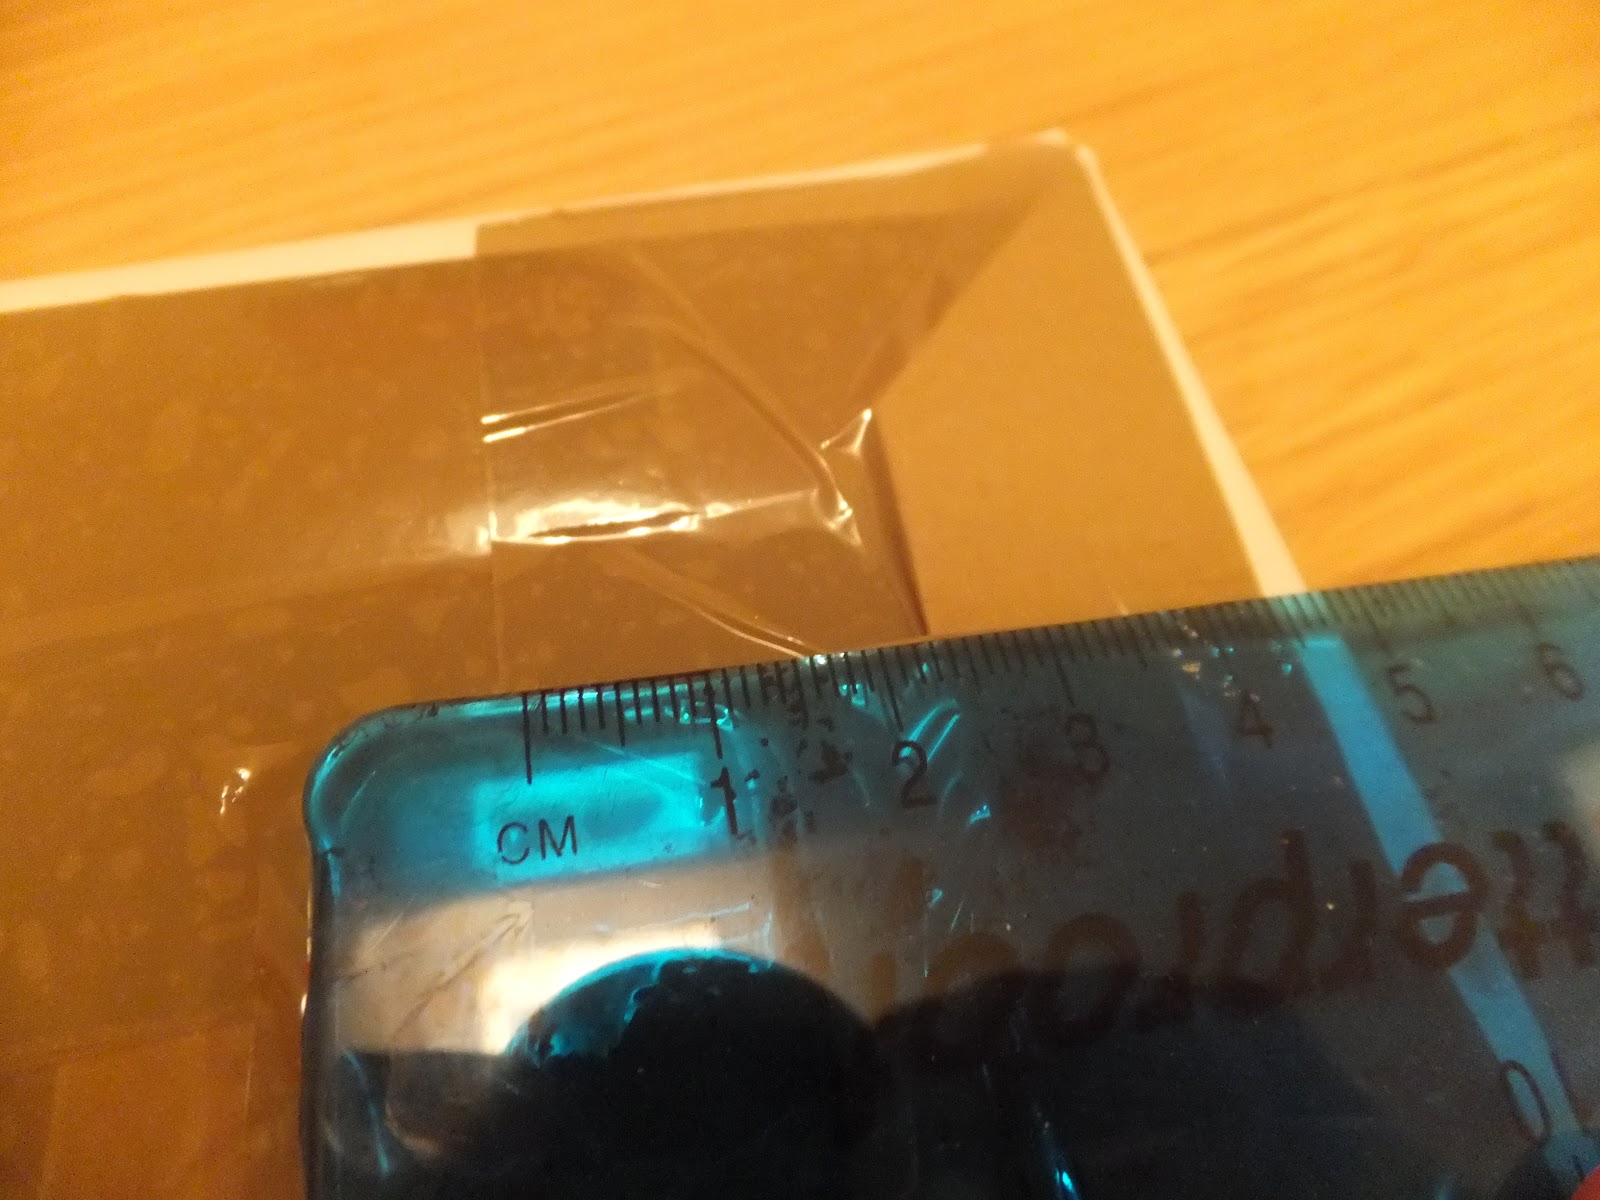
1) Cut your wallpaper so that it's about 5cm bigger than the cardboard, all the way around. Then neatly 'wrap' the piece of cardboard like a present. Fold all of the sides over and each time make sure you stick it down well with the strong thick brown tape.


2) Once the wallpaper is stuck down, measure 5cm from either end and mark with a pen. Take your piece of string (make it as long as you want it to be, the longer it is the lower it will hang) and place each end on top of the 5cm marks. Stick the string down with the brown tape, ensure it's completely stuck down as this will hold the weight of the notice board.


3) Now on to the decorated pegs that make this notice board, well a notice board! Choose one of the patterned tapes and measure it to the exact length of a wooden peg. My tape was wider than the peg, which isn't a problem, but it doesn't want to be longer. Carefully stick the tape to the wooden peg, making sure there are no bumps and lumps! Repeat with the different patterned tape with the other five pegs. I decided to do two pegs of each pattern.


4) Now on to the labels that I've stamped onto the tape, to get the best results your patterned tape will need to be material, so that the ink soaks in and doesn't smudge. Decide what you want the wooden peg labels to say, it could be the days of the week, names of children/family members, could be used to display table plans for a wedding/event, let your imagination run wild! I chose: To Do, Lists, Bills, Receipts, Vouchers and IMPORTANT. Using the alphabet stamps and black ink (again, you can use whatever colour ink you have) I stamped on the words to each peg. This is very quick and easy to do, just make sure you stamp on the words in the same direction on each peg.


5) Your nearly finished, position the pegs on the hanging notice board how you would like them to look. Get the superglue and very carefully put three dots on the back of a peg (top, middle and bottom). Place the peg back in its position and hold down for 30 seconds or until it's stuck down. Repeat with the other five pegs.


6) There you have it, a beautiful vintage inspired notice board that you can personalise! If you want to make it bigger just use a longer strip of cardboard. Ideas for other designs:

Families - using pegs with each person's name on would work really well. Then you can attach anything you need to remember for each person, for example swimming lesson times, after school clubs, school letters, dentist/doctor appointment times etc.

Wedding - if you made a bigger version then it could be used to display your table plan. On each peg, stamp on 'Table 1, Table 2 etc' or your tables names and then attach a list of the guests names to their tables peg. You could also display one of these notice boards at the wedding venue with piece of paper and pens next to it and ask your guests to write messages to the Bride and Groom and attach them to the pegs. A lovely memory for the married couple!

Couples - stamp the days of the week on to the pegs, so that you can attach your plans for the week on the relevant days. A clear way to display what's happening during the week and there's no 'You didn't tell me!' excuse! Or the same as I stamped on, another way to keep organised.

Businesses - you could stamp on new orders, pending orders and old orders on to the pegs and attach the relevant documents. A pretty way to display paperwork!


This design can really be used for any purpose and it's so cheap to make! 

 What do you think?

Will you have a go at this craft project?


SHARE:

Monday, 11 February 2013

A COMPLETELY edible dessert?!

I don't know about you but sometimes when I'm eating a delicious dessert, I just wish it would never end?! It got me thinking, can there be a dessert that is COMPLETELY edible, from the bowl to the spoon? So for all those dessert lovers out there, I've created a delicious dessert that you can eat the WHOLE thing! Good idea? I definatly think so, just think - no washing up, no tidying away, no waste - perfect :)

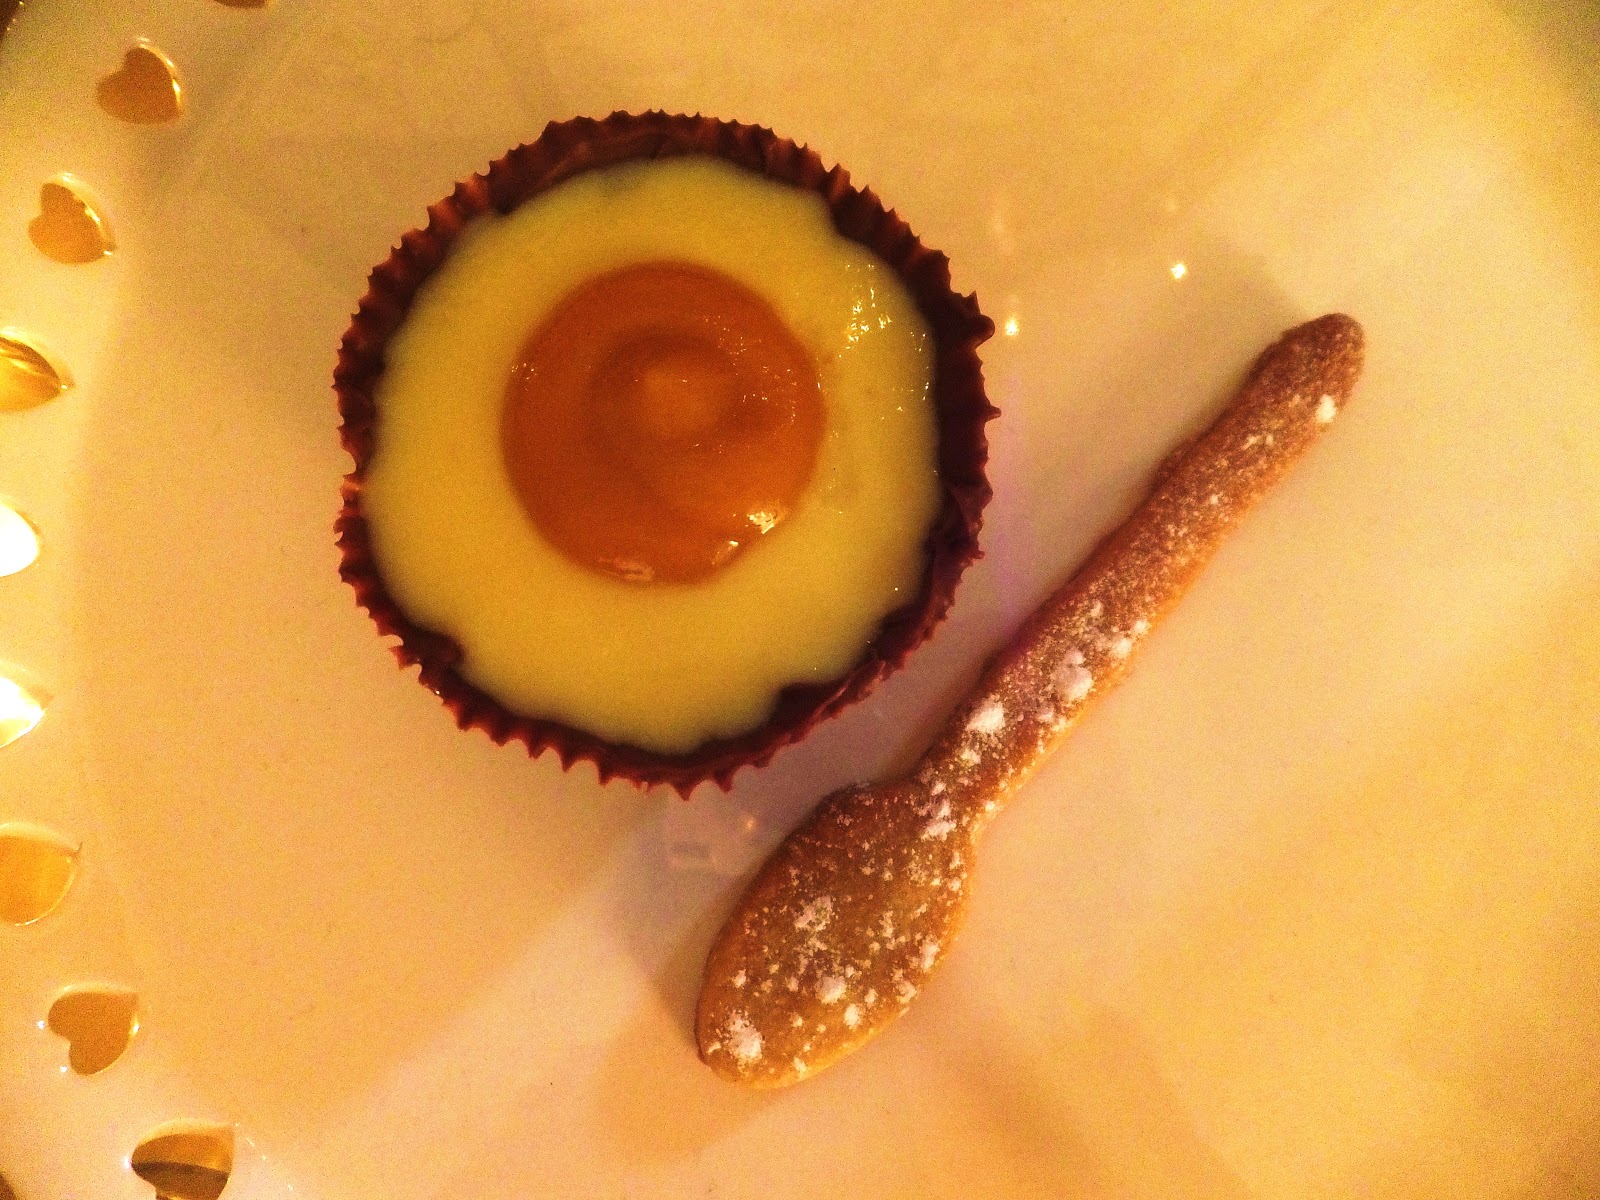
This dessert consists of a chocolate bowl, delicious dessert and shortbread spoon!

 
The first thing you need to make is the Chocolate Bowl, for this you'll need 4 cupcake cases (I used the Valentine's cupcake cases from cakecraftworld.co.uk, which you can see in this post here), 100g milk or dark chocolate.

Method:
1) Melt the chocolate in the microwave in short bursts, stir it every 20 seconds to make sure it doesn't burn. After burning a lot of chocolate, I tend to take it out of the microwave with a couple of lumps still in, when you stir it the lumps melt and disappear.
2) Put the cupcake cases in a muffin tray, then put a teaspoon of the melted chocolate in the bottom of the cupcake case. With the back of the spoon smooth the chocolate up the sides of the cupcake case, covering it completely. You might need more than a teaspoon, it depends on the size of your cases.

3) Once there is a layer of chocolate completely covering the cupcake case, about 2mm thick, then place them in the fridge to cool.


4) Once they are set solid, peel off the cupcake case and there you have an edible chocolate bowl!

To make the Shortbread Spoon you will need to make a standard shortbread recipe. This recipe makes about 10 'spoons', so a lot more than you need but who minds having extra shortbread to munch on?

Ingredients:
65g Butter
30g Caster Sugar
90g Plain Flour

Method:
1) Heat the oven to 190'C. Beat the butter and the sugar until smooth.
2) Stir in the flour to create a smooth paste, turn out on to a worksurface and roll out until 1cm thick.
3) I have a spoon shaped cookie cutter that I bought from Oil & Vinegar (or you can buy them from places like www.ebay.co.uk), but if you don't have one then use a dessert spoon as a template to cut out a spoon shape. Cut out spoon shapes and place on a baking tray. Sprinkle with caster sugar and chill in the fridge for 20 minutes.


4) Bake in the oven for 10-15 minutes or until pale brown. Cool on a wire rack.

Now on to the filling, you can put whatever takes your fancy in the chocolate bowl. It needs to be quite soft, otherwise the biscuit spoon will break but other than that it could be mousse, Angel Delight, soft scoop ice cream, fresh fruit, cheesecake filling, salted caramel, flavoured cream etc.

I decided to make a Vanilla Panna Cotta:

Ingredients:
3 gelatine leaves (or vegetarian Pectin)
250ml milk
250ml double cream
1 vanilla pod, split lengthways, seeds scraped out
25g sugar


Method:
  1. Soak the gelatine leaves in a little cold water until soft.
  2. Place the milk, cream, vanilla pod and seeds and sugar into a pan and bring to a simmer. Remove the vanilla pod and discard.
  3. Squeeze the water out of the gelatine leaves, then add to the pan and take off the heat. Stir until the gelatine has dissolved.
  4. Pour into a jug and put it in the freezer for 20 minutes, every 5 minutes stir the mixture. This will cool the mixture because if you pour the hot mixture into the chocolate bowls they will melt. Once the mixture has cooled enough not to melt the chocolate divide the mixture among chocolate bowls. Place into the fridge for at least an hour, until set.


As Easter isn't too far away I decided to create a dessert that also looked like an egg! Why not?! The 'egg white' is the vanilla panna cotta and the 'yolk' is a mango puree.


There is an amazing brand of fruit puree's called Pulp, they're delicious and so moreish! Their funky packaging is very appealing, the three flavours are all yummy and best of all they're one of your five a day! I used the Banana, Mango and Passionfruit Puree, which is simply divine. You can buy Pulp from Waitrose and Ocado too.
Just add a small circle of the Pulp mango puree on top of the panna cotta.


Serve the filled chocolate bowl with the shortbread spoon on the side and there you have it, a completely edible dessert!


Are you going to have a go at making this?

Feel free to leave me a comment below :)


SHARE:

Thursday, 7 February 2013

I MADE: Vintage Inspired Photo Holder for less than £2!

I really enjoy doing crafty projects, especially when it involves making something that is otherwise old, broken or useless into something beautiful. In the first 'I MADE' post I created a pesonalised photo frame for my pregnant sister-in-law (see post here) and so on to my second post.

I'm a massive fan of TK Maxx, if you have the time to search there are often gems to be found! During their yellow sticker sale last year (they have this sale twice a year, one in the summer and one at Christmas, where a lot of their stock is severly reduced) I bought a couple of photo frames without any glass in for £1 each. I know, no glass, what's the point?! But I knew (and hoped) that I would have some creative inspiration to make something with them! Ok, inspiration was slow as it's now about 6 months later but it came to me....I'll make a photo holder within the photo frame.


This creation took be LESS than 5 minutes to create, so really is a quick craft project!

Firstly, I took the back off the photoframe and cut a piece of 'rustic' string so that it was just a bit longer than the width of the photo frame back. I lay the string quite near to the top of the back board (about 3cm) and held it taut, then stuck both sides down on the back of the board with duck tape (or strong sellotape). It doesn't matter if the back looks messy, who see's it?


Secondly, I got one of the postcards I wanted to display in my photo holder to measure where the second piece of string needed to go. Once you have measured it (very roughly, you can change it easily by unpicking the sellotape) do the same thing with the second piece of string, as with the first.


Thirdly, repeat step number two again with the third piece of string. You can have as little or as many piece of string, it depends on the size of the photo's you want to display and the finished look your after.


Once you have all the string in place and are happy with it, carefully put the board back into the photo frame and push down the little metal levers that keep the back board in place. This can be a bit fiddley because the string that is wrapped around the edges make the board ever so slightly wider, but it should fit in again, mine did.


Then you can attach the photo's/postcards/pictures you want to display. I used coloured paperclips to attach the postcards to the piece of string. This adds some colour to the brown background but you could also use wooden pegs and paint them or stamp on words that relate to the picture on a wooden peg using ink stamps (see the set I have in a previous post here).


You can leave the photo holder as it is or you can add further decoration. I bought this pack of flowers that have a metal tie to them from a carboot sale for 50p. I decided to weave the metal tie around the top piece of string for a vintage inspired look.


Postcards were free in the Period Living Magazine last year.

Done! The photo frame was £1, the flowers were 50p and the string I actually got free from my boyfriends parents but 3 piece of string wouldn't cost anymore than 30p. So this whole photo holder only cost me £1.50! Such a bargain with a personal touch and something no one else will have :)

Do you like it?

Are you going to have a go at making this?


SHARE:
© Treasure Every Moment. All rights reserved.
BLOGGER TEMPLATE BY pipdig