Tuesday, 28 January 2014

NAILS: Maybelline Color Show Nail Polish in Nebline and Speeding Light


Nebline (left) and Speeding Light (right)


These were such a bargain from the Fragrance Direct sale (see post here) for 60p each - Speeding Light is still in stock for 60p, as are some other shades. You can also buy them from Boots (£2.99), Superdrug (only specialist ones online for £2.99) and Tesco (£3) to name a few places.

It's always a bit harder buying shades of any beauty product online, as you can't see what the actual colour will be but I'm really pleased with these too. I don't have any nail varnishes these colours, so they fit in perfectly. Out of the two I thought I'd like Speeding Light on best but actually Nebline is my favourite - as it's such a subtle colour it goes with everything!

I did find that this nail varnish was quite runny, you have to be careful not to get too much nail varnish on the brush otherwise you end up with a 'puddle' of nail varnish at the nail bed. As it is quite runny you really need two coats before you can see the true colour. The drying time is really quick and it did last really well. To be honest I wasn't expecting it to last very long, mainly because it is quite runny. But this last 4/5 days, which for me and my nails is pretty good going!

I created some flowery nail art using the nail art tools Tom gave me for Christmas (you can buy them here)....


Nebline


Speeding Light

Does your nail varnish collection have a wide variety of colours or do you stick to certain shades?

Feel free to leave me a comment :)


SHARE:

Sunday, 27 October 2013

NAILS: Cath Kidston Inspired

This nail art is inspired by Cath Kidston, I love having flowery nails as almost everything I own has some kind of floral print!

Firstly, I painted my nails with Miss Sporty Quick Dry. I love the vibrant blue colour, perfect for brightening up these rainy days recently! I then used the Poundland white nail art pen to create the polka dot effect. If you don't have a nail art pen with a fine nib just use a cocktail stick, (carefully) snap off the end so that there isn't a point (this helps with even application). Dip into any white nail varnish and dot onto the nails. I try and do this step quickly after applying the blue nail varnish, so that the white dots 'sink' into the blue, creating a more even finished look.  
 

Next I used MUA nail varnish in Shade 3 to create 3 larger dots on my fourth fingernail. But you can use any darker nail varnish you have: purple's and pink's generally work best.
 

While the darker nail varnish is still wet add a paler colour into the middle, this time I used a white. Quickly use a cocktail stick or nail art tool to swirl the darker and lighter colour nail varnish together, making sure that you don't make the circle any bigger.  
 

Then I added some leaves to the flowers using ASDA Nail Polish in Aqua 23. I have used a glittery green nail varnish before for a more sparkly finish.  

 
Here's the finished look:


What do you think?
 
Feel free to leave me a comment :)
 
 
SHARE:

Thursday, 3 October 2013

Revlon Nail Art Moon Candy ♥

I actually bought this in America in Summer 2012, not realising that it hadn't come out in the UK back then! It is now available here from places like Boots and retails for around £7.99. As usual, a lot more expensive than America but hey ho!
 
I chose Revlon Nail Art Moon Candy in Satellite but there are a variety of colours available, all with space-y names.   


There are two steps, paint your nails the base colour (which I've used on it's own loads of times) and then paint over the 'moon candy'.
 
 
 I really like the base colour and I do like the finished product but a big negative for me is that the glittery parts don't dry flat. I am therefore always inclined to pick off the glitter, making my nails look messy. It also makes doing your hair harder, as the strands get caught in the nails. Perhaps if you applied another top coat, it could smooth it out. But then your nails would have a lot of nail varnish on!  


Have you tried any of the Revlon Moon Candy range?
 
Feel free to leave a comment :)
 
SHARE:

Friday, 20 September 2013

HOW TO: Healthy Looking Nails - using Jessica Phenomen Oil ♥

Flaky nails - they are more common than you'd think, with a lot of men and women struggling. I have flaky nails and I'm convinced it's because I wear nail varnish a lot of the time, but do I stop wearing it? Nope. Of course I want my nails to look nice and not one big flaky mess but I also enjoy painting my nails and the different looks you can create. My nails are just really weak, I can bend them easily and the top layers of the nails flakes away. Not ideal.
 
I have tried numerous nail varnishes that promise to strengthen your nails, without any luck. When Fragrance Direct kindly sent me Jessica Phenomen Oil (RRP £9 but Fragrance Direct sell it for £7.50) I was intrigued to see whether this was the product that would help me create healthy looking nails.


As you can read on the back of the packaging, Jessica Phenomen Oil isn't solely designed for your nails. It can be used on most areas that you feel need a good burst of hydration, this cold be your elbows, knees, cuticles etc. Making this product very versatile.
 
To have a go at creating healthy looking nails for yourself, you'll need Jessica Phenomen Oil (available from here), a file/buff/shine set and a cuticle remover.
 
 
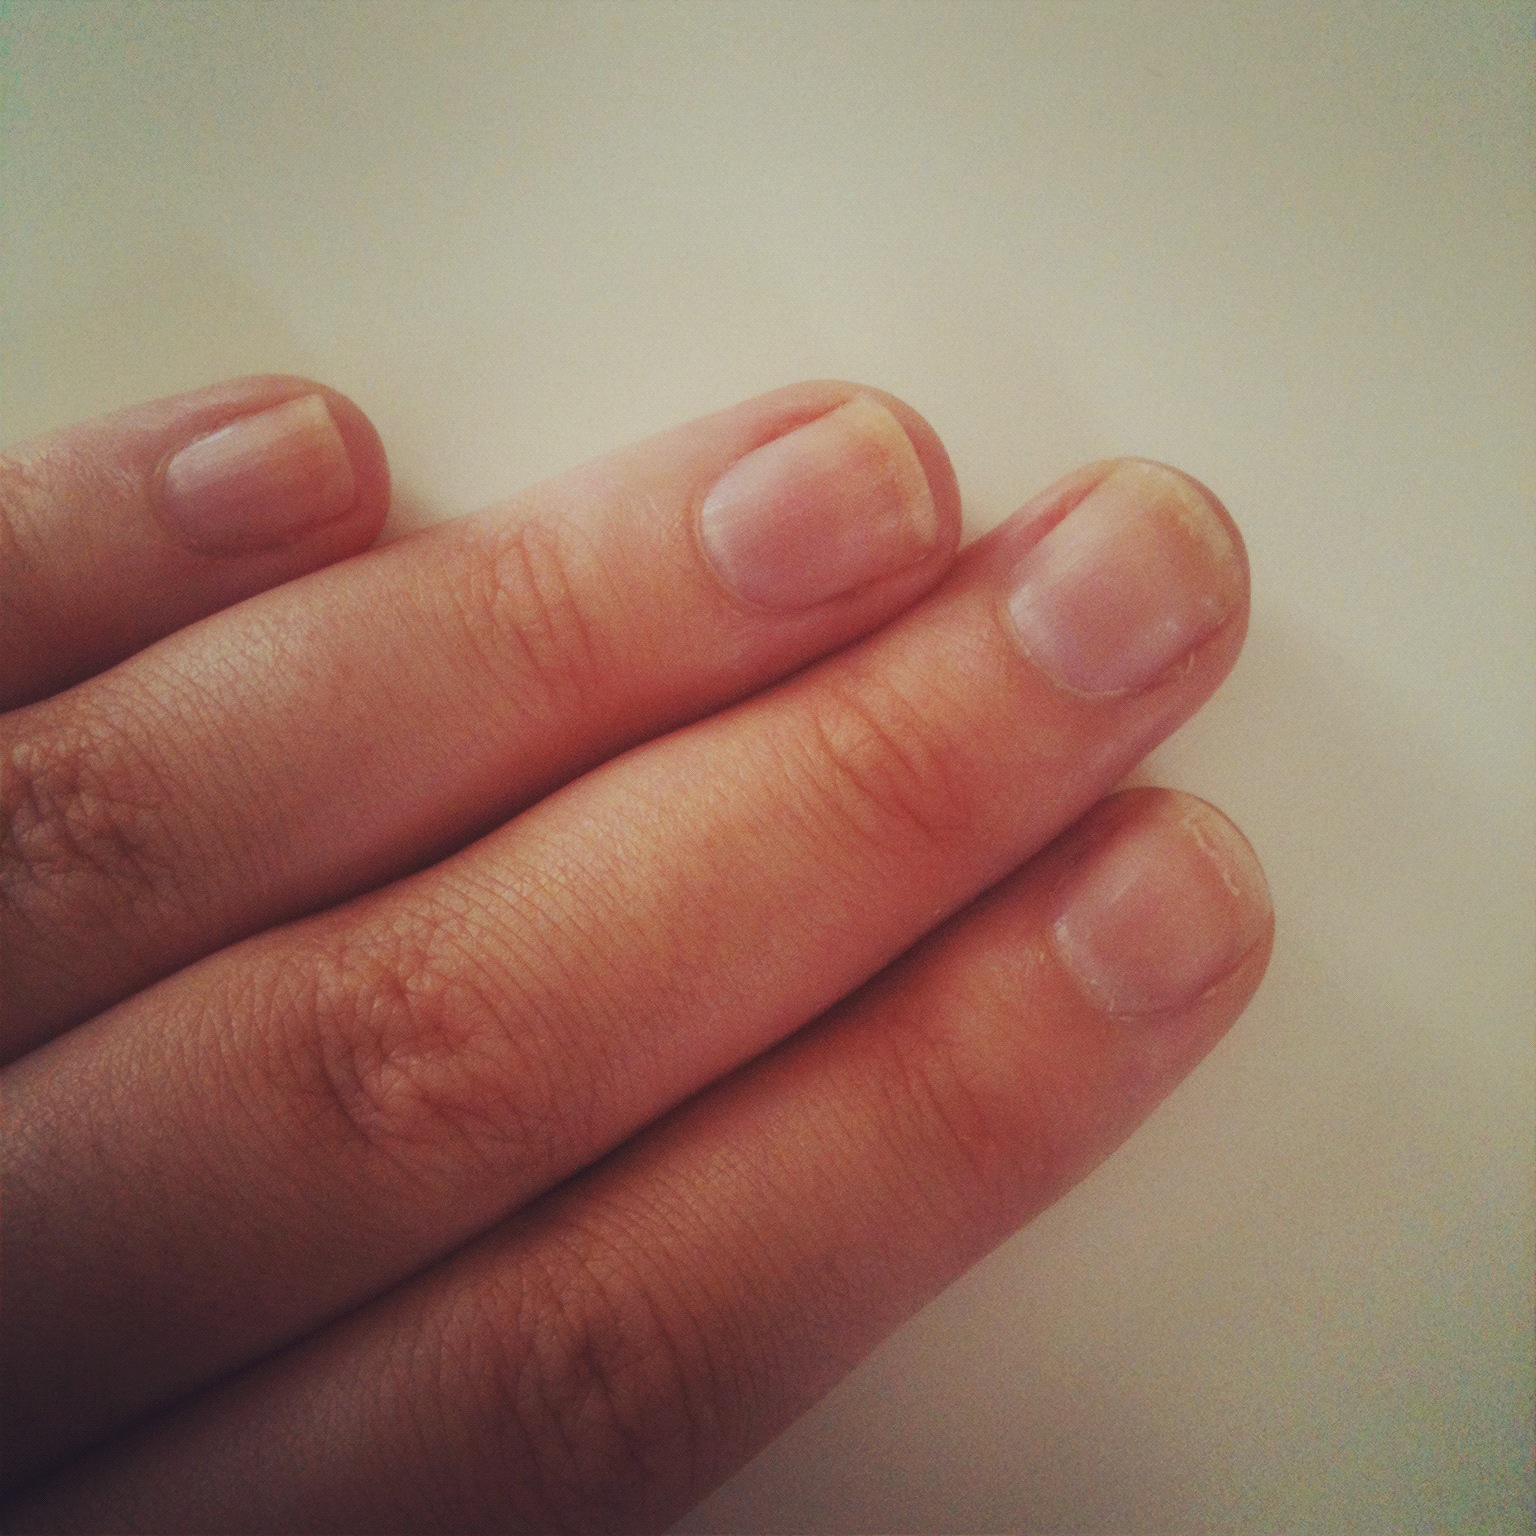
These were my nails before this treatment - clearly flaky and not particularly healthy looking.
 
 
Firstly, I filed my nails into the shape I wanted them to be. This is completely personal preference.
 
 
Next, I buffed the top of my nails gently with the 'buff' side of the set. This helps to take away any uneven surfaces on your nails, creating a smoother nail.
 
 
Afterwards, I used the 'smooth' side of the set to help create an even smoother nail surface (which is hard if you have flaky nails).
 
 
 I then applied a small drop of the Jessica Phenomen Oil to every cuticle, gently massaged it into the nail. Using the cuticle remover, I pushed back my cuticles.


This 'treatment' took about 5 minutes for both hands, so it's not time consuming but I think you'll agree that you can see a massive difference in my nails! In the before picture (near the start of this post) my nails were very flaky looking, not very shiny and generally unhealthy. But now they're shiny, not visibly flaky and I'd be happy to wear no nail varnish with my nails looking like this.


Do you have this problem too?
 
Feel free to leave me a comment :)
 
SHARE:

Thursday, 19 September 2013

Nails: Dots&Spots

I found this Ted Baker nail varnish (which was part of a duo set) that I had been given at Christmas and completely forgotten about! The deep blue colour is a great colour for these autumn months but I thought I'd brighten it up with some bright dots.
 
I used the following nail varnishes - Ted Baker Navy, Poundland White Nail Art Pen, No7 Top and Base Coat and Miss Sporty in Purple.
 
 
Firstly, I painted my nails with the Ted Baker navy nail varnish (always so messy with the base coat!)


Then pop however many dots you want on each nail, using the Miss Sporty purple nail varnish. On my fourth finger I put 4 dots, on the rest of my fingers I only put 2 and on my thumb I put 5. Just mixed it up :)
 
 
Then I used the white nail art pen to dot around each circle, I did a dot in the middle of each circle on my fourth and fifth finger. Again, just for a bit of variety really!


What do you think?
 
Feel free to leave me a comment :)
 
SHARE:

Thursday, 12 September 2013

Daisy Nail Art ♥

Here's a quick tutorial on how to create these Daisy nails, with the darker colour background I think these are perfect for carrying through until Autumn/Winter.


1. Paint your nails with a clear base coat, I used No7.
 
2. Then apply a dark blue colour to your nails, I used Barry M 292 Navy.
 
2. After the dark colour has completely dried, use a white nail art pen (this one is from poundland) to draw flower shapes. On 3 nails I did 3 flowers and on 2 nails I just drew 1 flower, but it's obviously completely up to you!
 
3. Carefully, dot on the middle of the flower. Ideally I would have used a yellow nail varnish to make them look more like daisy's but couldn't find one anywhere! So I used L'Oreal 208 Orange.  
 
4. Let that dry and then finally finish with a clear top coat, also No7.
 
Ta Dah!


Are you a fan of nail art?
 
Feel free to leave me a comment :)
 
SHARE:

Wednesday, 4 September 2013

Sally Hansen Salon Effects Real Nail Polish Strips from Poundland ♥

Poundland is simply amazing sometimes - high street brands for £1! There's been a lot of hype in the blogging world recently as Poundland started stocking Dainty Doll products, they also stock/have stocked Revlon, Stila, Maybelline New York etc. On a recent trip to Poundland I found a number of Sally Hansen products - I couldn't believe it! I have awful nails, so weak and flaky at times, so I like to wear nail varnish (although I do think it is the nail varnish that makes them like this! Oh the irony).
 
Sally Hansen Salon Effects Real Nail Polish Strips (retails in Boots for £7.99) make some pretty big claims - no dry time, lasts up to 10 days and fits all nails. So for £1 I thought I'd try these out. I've tried some nail wraps before but they were from Primark and I just didn't get on with them! These were SO much easier to use, I would say they were easier than painting your nails and probably quicker to apply too.

 
This is what was provided - a cuticle stick, nail file, 2x 8 nail wraps and instruction leaflet....

 
Firstly, you have to make sure your nails are completely clean. I used nail varnish remover to clean my nails, if there are any little specks left on your nail then the nail wrap won't properly stick to your nail.
 
 
As you can see the range of sizes provided is brilliant, you get two sets of these sizes!
 
 
I held each one to my nails to see which would be the best size. Now although there was a good range of sizes I did find that the shape wasn't quite in line with my nails. But if you think of all of the different shaped nails in the world, they were never going to fit perfectly on everyone!
 
 
Once you've found the nail wrap perfect for your little finger (always do your thumb last) then you can take off the protective plastic cover.
 
 
As the thrifty person that I am, I noticed that the wraps were much longer than my nails, so I decided to cut them in half! This means that I will now be able to apply these nails wraps a second time - hooray! 

 
 The next step I didn't believe would work - the nail wraps aren't sticky (like I thought they would be), infact I dropped one of the carpet floor and it wasn't ruined - you simply hold the nail wrap in place. After about 20 seconds of smoothing out the wrap onto the nail and using the heat from your fingers, the wrap is very securely in place, it really was that simple.
 
 
Next, you file off the excess nail wrap and that's it!


One of their claims is true - there isn't any drying time, which is a massive bonus! You could easily put these on in the car - I'm always trying to paint my nails last minute in the car but it goes everywhere!
 
These didn't last 10 days though, I defiantly saw a difference between normal nail varnish - these lasted longer. But after 7 days they were starting to 'chip' at the ends of my nails.
 
I took a picture of what they looked like after 10 days but then my phone broke and I lost the photo! If I hadn't been reviewing them for my blog I would have taken them off before 10 days. I'd say they looked nice up until about day 7, which is an improvement from most of the nail varnishes I use!
 
Overall, I'm impressed with this product, especially as it was only £1!
 
Have you tried this product before?
 
I love it if you left me a comment :)
 
SHARE:

Thursday, 10 January 2013

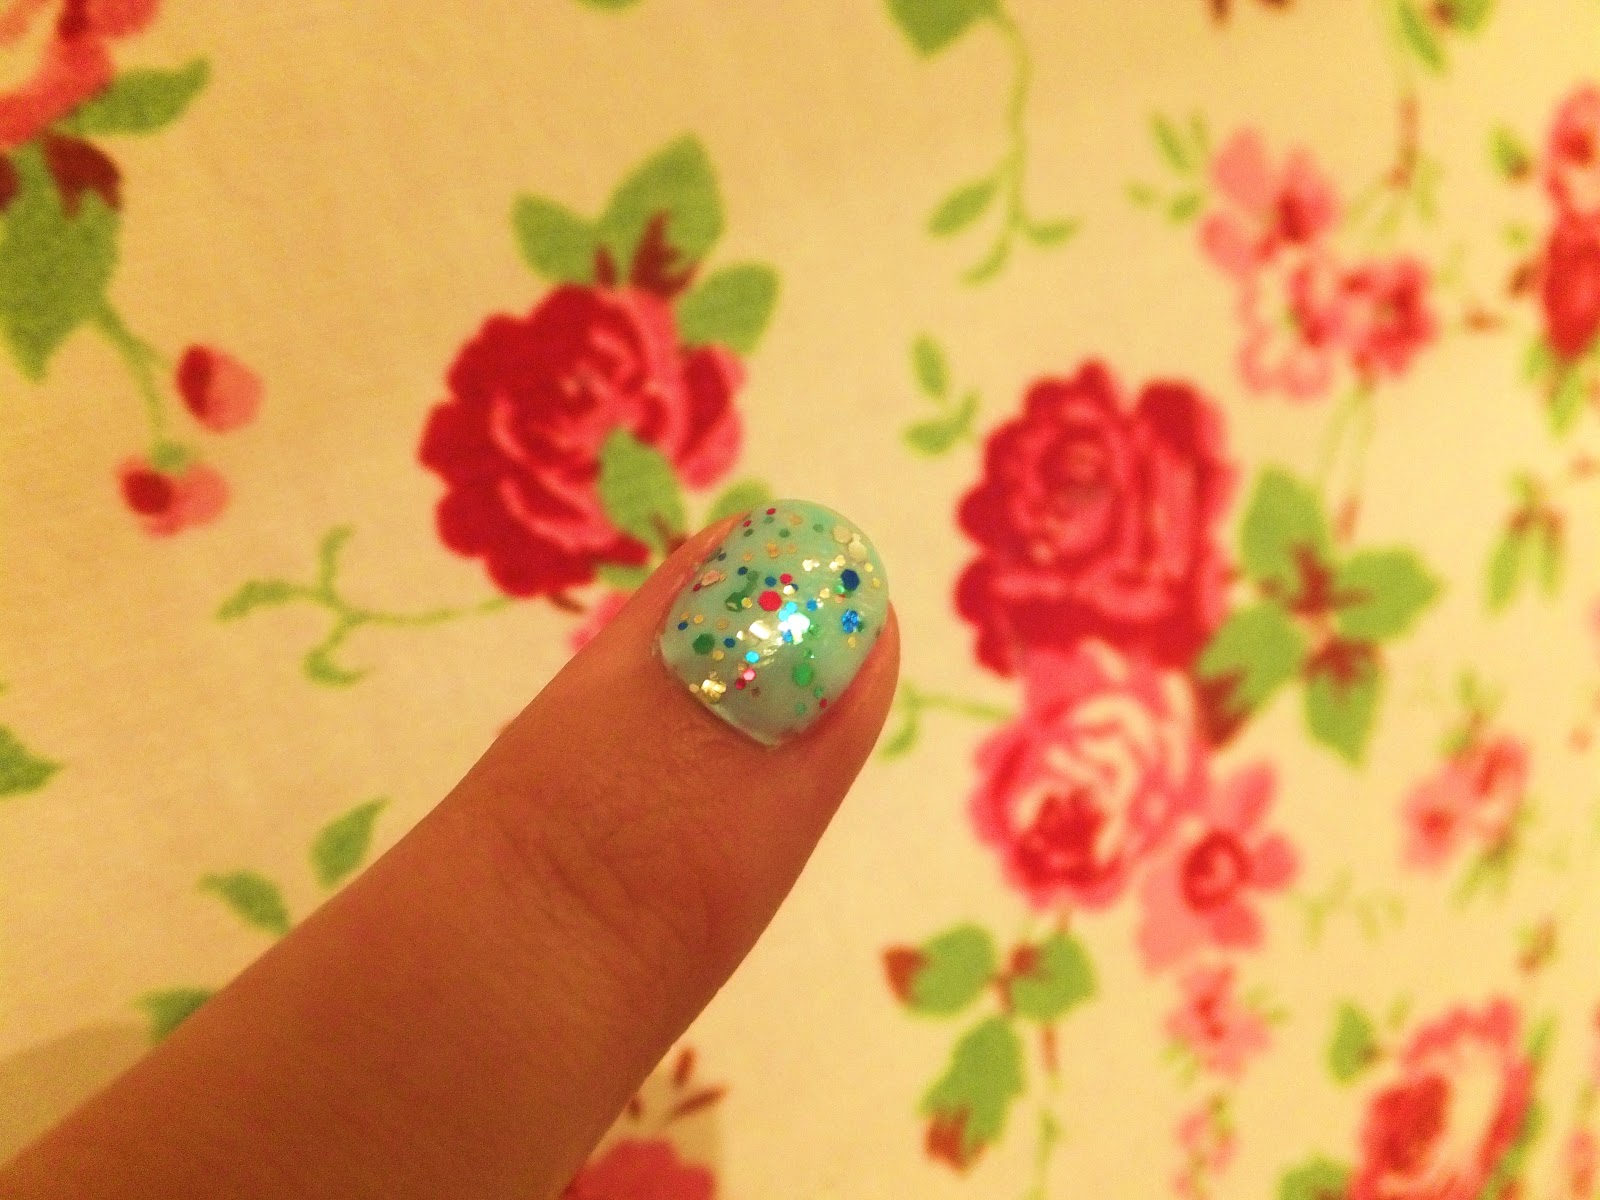
Ice-Cream Blue Glittery Nails :)


I bought this 17 light blue nail varnish called 'Heart Beat' from Boots for £2. I love the creamy blue colour, it has a good size applicator, making applying the nail varnish very easy!

To create this look I also used Chit Chat nail varnish, which is only £1 from Poundland! It's one of my favourite new nail varnishes because it's full of different sized glitter, making it great to use with any other nail varnish! You can also control how much glitter you have on your nails, one coat doesn't have much glitter and then you can build it up!


I painted two coats of the Heart Beat nail varnish on my nails first, let them dry and then painted over the with 3 coats of the Chit Chat nail varnish, simple! :)


What do you think?

SHARE:
© Treasure Every Moment. All rights reserved.
BLOGGER TEMPLATE BY pipdig