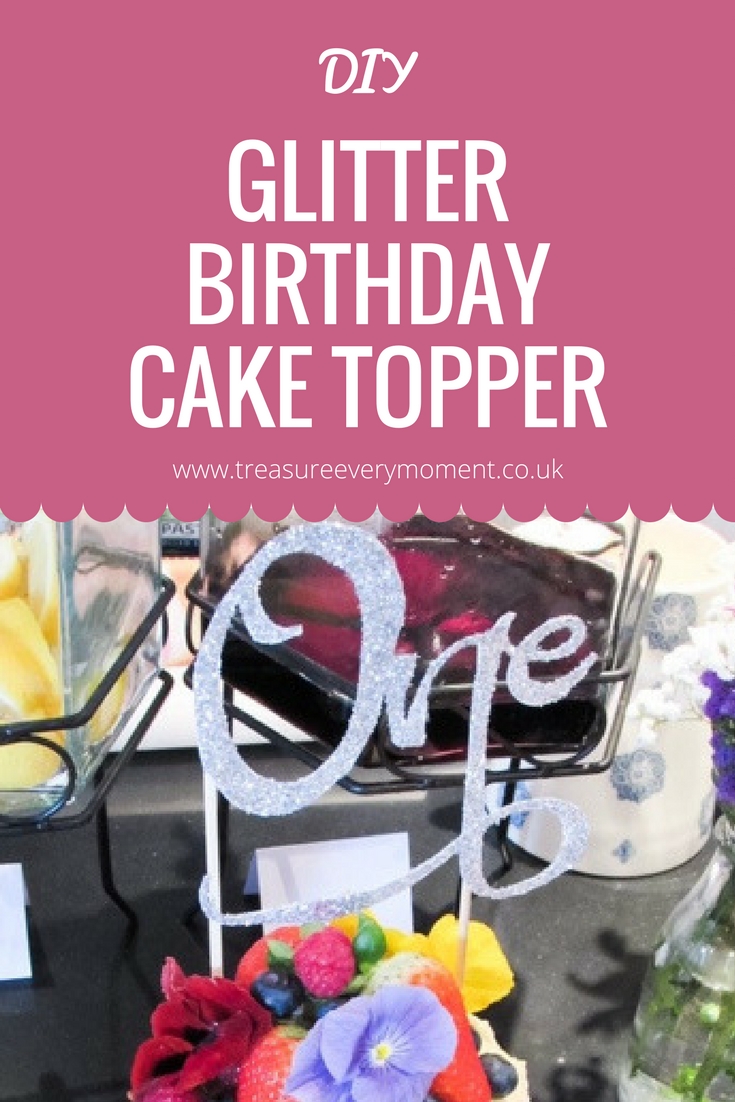
When we were thinking about what type of cake we were going to have for Isabella's first birthday we just couldn't decide. I really wanted a smaller version of our wedding cake, but that would have been hundreds of pounds and I just couldn't justify it. We eventually settled on a Victoria sponge from Costco, it was only £7.29 and huge! But it didn't look like a birthday cake, or anything special to be honest. I therefore wanted to add some personal additions, making an £7.29 cake look like something a bit more special.

We started by adding another smaller victoria sponge (this one was from Marks and Spencers), fresh fruit and flowers, that combination can make anything look good! To make it look more like a first birthday cake I had my eye on various glitter cake toppers on Etsy, but the ones I really liked were from either America or Canda and I left it too late to order one. They also cost about £10 with delivery, which is quite a bit of money for something we were only going to use once. So at 9pm one evening I decided to try and make my own. We just happened to have everything I needed to have a go at making one; by 10pm I had the cake topper made and just needed to add the glitter in the morning. It took no time at all and saved us £10! You could easily do this for a wedding cake, baby shower, birthday or special occasion. The same method can be used for almost any word or number.

What you'll need:
White card
PVA glue
Wooden skewers
Glitter
Craft knife
Pencil
Sellotape
Sellotape
What to do:
1) Sellotape two pieces of card together at the edges. Draw or trace your word/number onto the card. I drew this freehand, but you could print off a template and trace it.
2) Place the card onto a firm surface that you can cut on using a craft knife. Very carefully cut around your word/number using a craft knife. You'll have to press quite hard to get through the two pieces of card.

3) Once you've cut around the whole word/number pop it out and glue it together with PVA glue, ensuring it's completely lined up. Leave to dry completely.
4) Cut the wooden skewers to the height you need for your cake. Ensuring the spikey end is at the bottom, so that the cake topper can easily be put on a cake.

5) Using PVA glue or a glue gun stick the wooden skewers to the back of the word/number. I decided to use two skewers, but depending on the length of word you may need less or more. Again, leave it to dry completely.

6) Cover the front of the word/number in PVA glue (trying not to get any on the wooden skewers) and sprinkle over your glitter of choice. Make sure you've completely covered it with glitter, you don't want any card showing through. Shake off any excess glitter.

7) Leave to dry and your cake topper is ready!
2) Place the card onto a firm surface that you can cut on using a craft knife. Very carefully cut around your word/number using a craft knife. You'll have to press quite hard to get through the two pieces of card.

3) Once you've cut around the whole word/number pop it out and glue it together with PVA glue, ensuring it's completely lined up. Leave to dry completely.
4) Cut the wooden skewers to the height you need for your cake. Ensuring the spikey end is at the bottom, so that the cake topper can easily be put on a cake.

5) Using PVA glue or a glue gun stick the wooden skewers to the back of the word/number. I decided to use two skewers, but depending on the length of word you may need less or more. Again, leave it to dry completely.

6) Cover the front of the word/number in PVA glue (trying not to get any on the wooden skewers) and sprinkle over your glitter of choice. Make sure you've completely covered it with glitter, you don't want any card showing through. Shake off any excess glitter.

7) Leave to dry and your cake topper is ready!


What's your favourite craft project?
Feel free to leave a comment - I love reading every single one :)
Helen x
Cute idea 😀
ReplyDeleteOh my goodness this is amazing I love it! Thank you so much for sharing on #thelist x
ReplyDeleteThanks for sharing! I'm going to try this out!
ReplyDelete